When we went to Hong Kong, I had a make-up haul from H&M. A few years ago, I bought an eye shadow palette from their store and it became my go-to eye shadow because of its handy size and great range of colors. Then, about a year ago I stumbled upon their lipsticks and I bought a few. I fell in love with some of the dark colors. After which, I decided to have this massive haul because I seldom encounter stocks of their make-up line.
This tutorial makes use of the available make-up products of H&M Hong Kong. I was not able to find foundations & blushes from them so I made use of other brands.
 |
| non-H&M products used |
1. Prep your skin with primer.
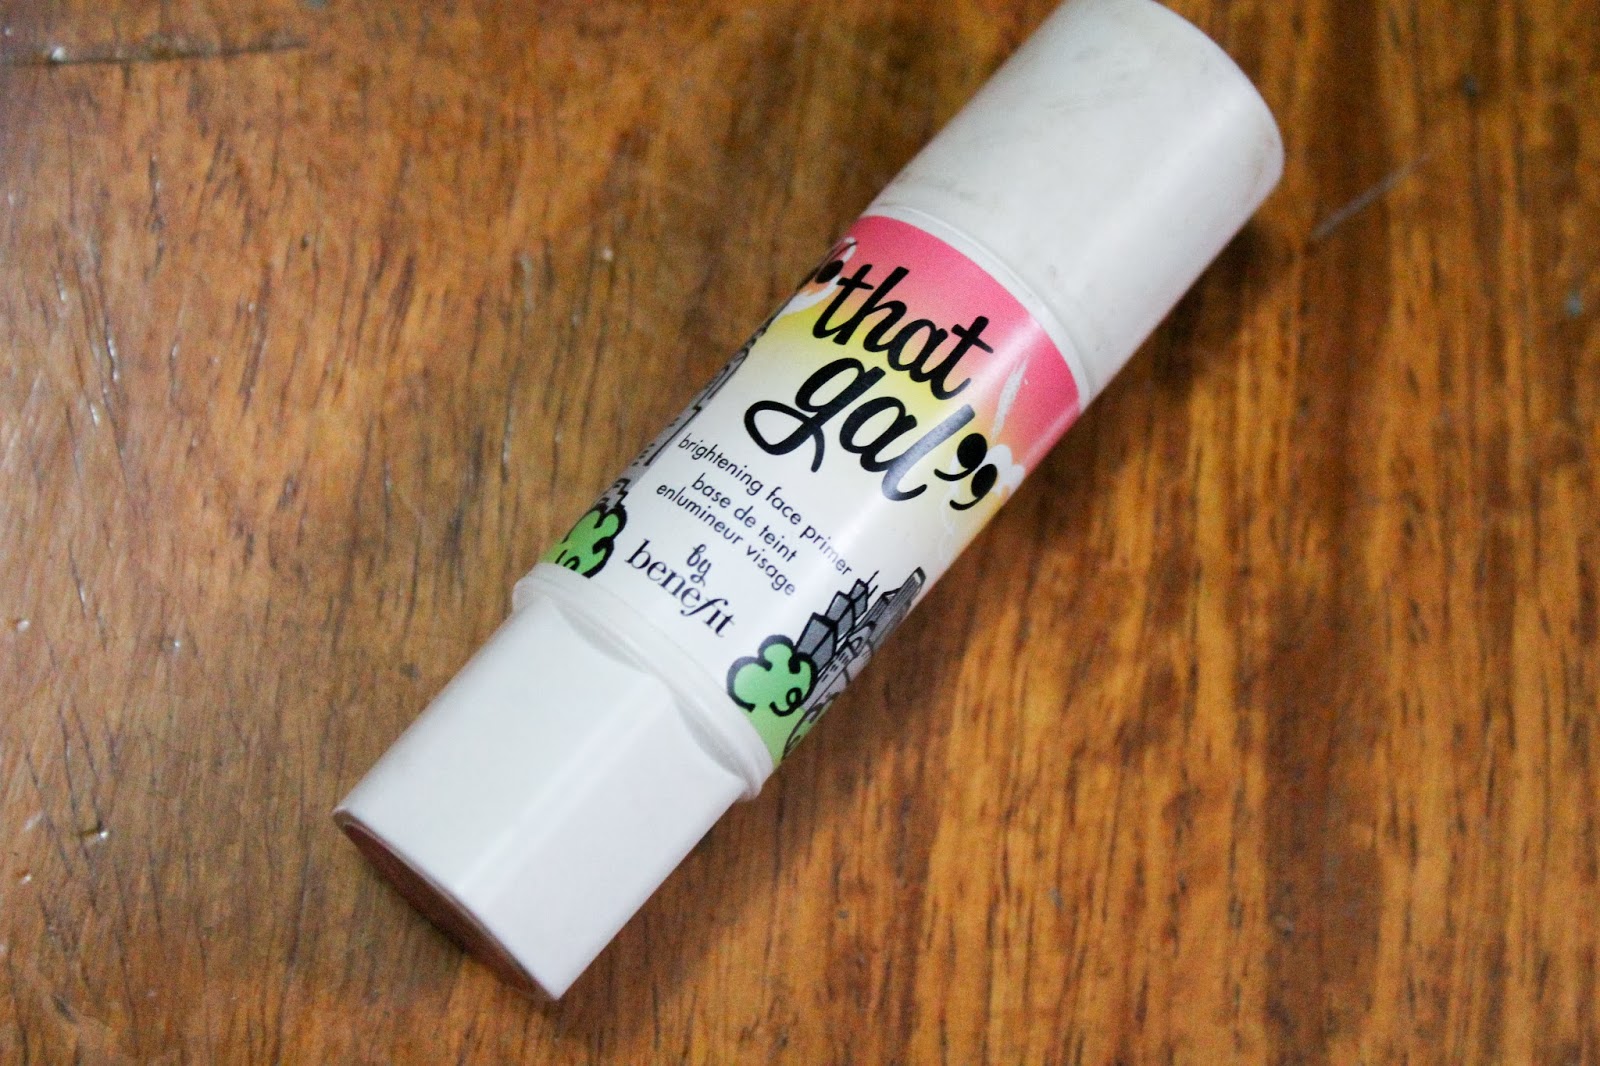
I used Benefit's That Gal brightening face primer. I applied it all over my face using my hands.
2. Contour & Set
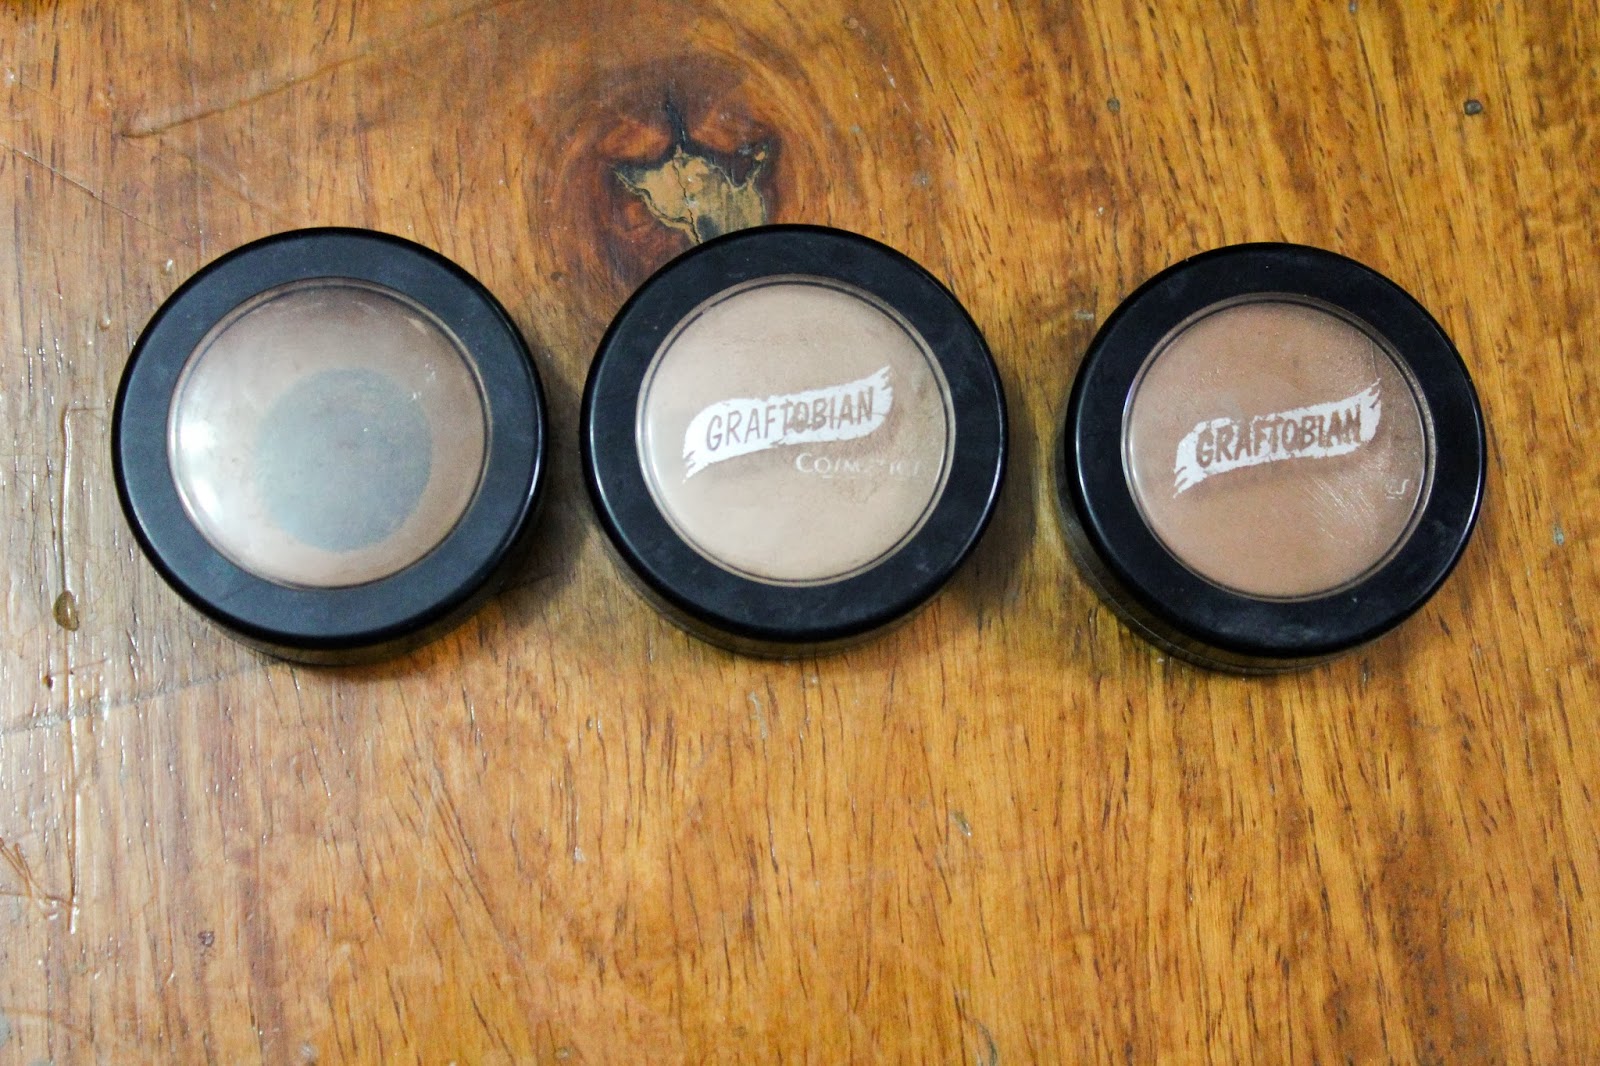
I used Graftobian cream foundation in 3 shades. You can opt to just use one foundation that matches your skin tone.
Applied it using the foundation brush of the double-ended make-up brush by H&M. The foundation end of this brush is okay for personal use but do not drown it in product because the bristles clump together (which will then produce streaks on your face).
First applied the foundation that matches my color all over the face. Next, I applied the lighter color under my eyes, on the lower part of my forehead, on the bridge of my nose and on my chin. I then applied the darker foundation to the outer parts of my face, under the cheekbone and on the sides of my nose.
(Optional Step)
I intensified my under eye highlight using the Mac Prep & Prime highlighter. After blending it onto my skin, I set it with my Revlon ColorStay pressed powder. Remember when using cream products, you have to set it with powder so that the product will stay put on your face.
3. Bronze & Blush
Using the blush of the double-ended H&M brush. The blush end is average. I think the brush is too big for my cheeks so I sometimes push the bristles together a little bit so that I won't have blush all over my face. I applied H&M's Bronzer in Dark Tan as contour As you can see with the lack of label in the H&M bronzer, I have been using this product a lot. I also applied blush from The Balm.
To blend out any harsh lines, I used H&M's kabuki brush. To be honest, I hate this brush. The bristles fall out very easily so don't buy it.
4. Fill in your brows
I used the brown eye shadow in this palette.
I used the angled brush in this double-ended brush because it's the brush you need for eyebrows. Do not use the brush included in the palette.
As you can see, I have thick eyebrows so what I do is just fill it in with eye shadow to make it appear more solid.
5. Eye shadow & Liner
I only used 1 eye shadow brush for this. Tee hee. The eye shadows were fine. They were a bit chalky and not very good pigmentation but good enough for personal use.

Using the first 3 colors in the palette, apply the pink eye shadow all over your upper eyelid. Layer the purple shadow onto the crease.
Apply the white-ish shadow on the lower part of your lid and put purple eye shadow on your lower lash line. Finish it off by outlining your upper eyelid with H&M's gold liner.
I didn't actually like the consistency of the gold liquid eyeliner because it doesn't apply smoothly but it was cheap enough for a product that you wouldn't be using often.
6. Curl & Mascara
I don't actually mind mascaras too much. I think they all do the same thing. What really matters is how much coats you put on. Or maybe I just haven't found a really great mascara that will stand out. I used H&M's Volume Mascara.
7. Lipstick
H&M have awesome lipsticks. They are very pigmented and they have dark colors...so YAY. One thing I don't like about these lipsticks..when you have dry and chapped lips, they don't look nice. Some lipsticks on the other hand moisturize my chapped lips so that's one thing but don't worry. Scrub your lips first and then put on lip balm, wait for a while and then put on these lippies.
Also available in H&M is this set of lip glosses. I don't think you can actually go wrong with lip glosses because just like mascaras, if it does its job it's okay with me. These make nice presents if you ever have the need to buy one for a friend's birthday for example.
I applied Pink Fool and the pink lip gloss for that extra shine.
That's it...