Showing posts with label make-up diy. Show all posts

Friday, January 10, 2014

Depotting Lipsticks: Z Palette

Recently I bought a Z Palette abroad and had it shipped here in the Philippines because it is more expensive in the Philippines  (and we also bought some other items abroad so they'd just be in one package). I also bought tiny magnetic pans for it. Z Palettes are magnetic cases with a clear cover. They are used to store make-up products. I chose to use Z palette for depotting my lipsticks instead of the Japonesque empty lipstick palette (which can store a bigger volume of the lipstick) because I didn't want to empty out the lipstick. In my Z palette, I can choose how much of the lipsticks I will depot. The magnetic pans, used to store makeup or in this case lipstick, have many sizes you can choose from.


You can search facebook or instagram shops that sell Z Palettes. Pure Beauty stores carry them too (they have branches in serendra, trinoma, alabang).


What you will need:


magnetic pans

spatula

tissue

lipsticks

pen & paper (or stickers)
 Steps:

1. First step is to take note of the name of the lipstick. List down the brand and the color in paper or better yet, write it on a sticker label and place it on the back of the pan.


2. Scoop out a small amount of the lipstick using your spatula. If you do not own one, you can use a butter knife or anything of similar use.


3. Push the product onto the pan and spread. 


 4. Clean your spatula. And repeat all the steps.


End Product


The List

2nd row of lipsticks not included in the picture above

Alternative:

You can also melt your lipsticks onto the pan but I didn't see the sense of making it pretty because it will look messy if you use it anyway. You can also opt to buy a similar-looking palette from Props Tools and Cosmetics. I think I saw one in their stall during a bazaar. Happy depotting!

Saturday, December 7, 2013

Wishy Washi Tape: Decorating Make-up

I have recently encountered Washi tapes. Yeah, I am now a bit late in the fad but to my defense, it's fame just reached Manila a few weeks or months ago. I don't know for sure. Ah. You get the point anyway.

I have decided to use washi tape to cover my cracked eye shadow palette from H&M. That palette was my favorite handy dandy palette but then its cover cracked. I hesitated bringing it and putting it in my make-up kit because it does not look good anymore. Shallow, jam. So when I received my washi tapes, I covered it!

ITEMS NEEDED
  • washi tape
  • scissors (optional)
  • cutter

Here are my newly-bought washi tapes. They are priced at around 60 to 70 php or $1.3-1.5


First Project: Broken H&M eye shadow palette


I covered the broken plastic case with the washi tape. I added a few centimeters on each end for the sides. Remember to flatten the washi tape so there are no bubbles on the surface.


Overlap the washi tapes a little bit so that there will be no visible blank space.


After fully covering the case, I trimmed the excess washi tapes on the side using a cutter. 


After trimming the sides, the cover now looks clean and neat. 


WASHIFIED EYE SHADOW PALETTE


Second Project: Lipstick palette

I created this watercolor turned eye shadow palette. It was previously covered with ugly stickers. Yeah, it didn't turn out like I wanted to. Check it out here

I stripped stickers off the lipstick palette.


Washified Lipstick Palette


OTHER WASHI PROJECTS

I covered my iphone charger right after getting my washi tapes so pardon the poor application. I just love this Eiffel tower design.


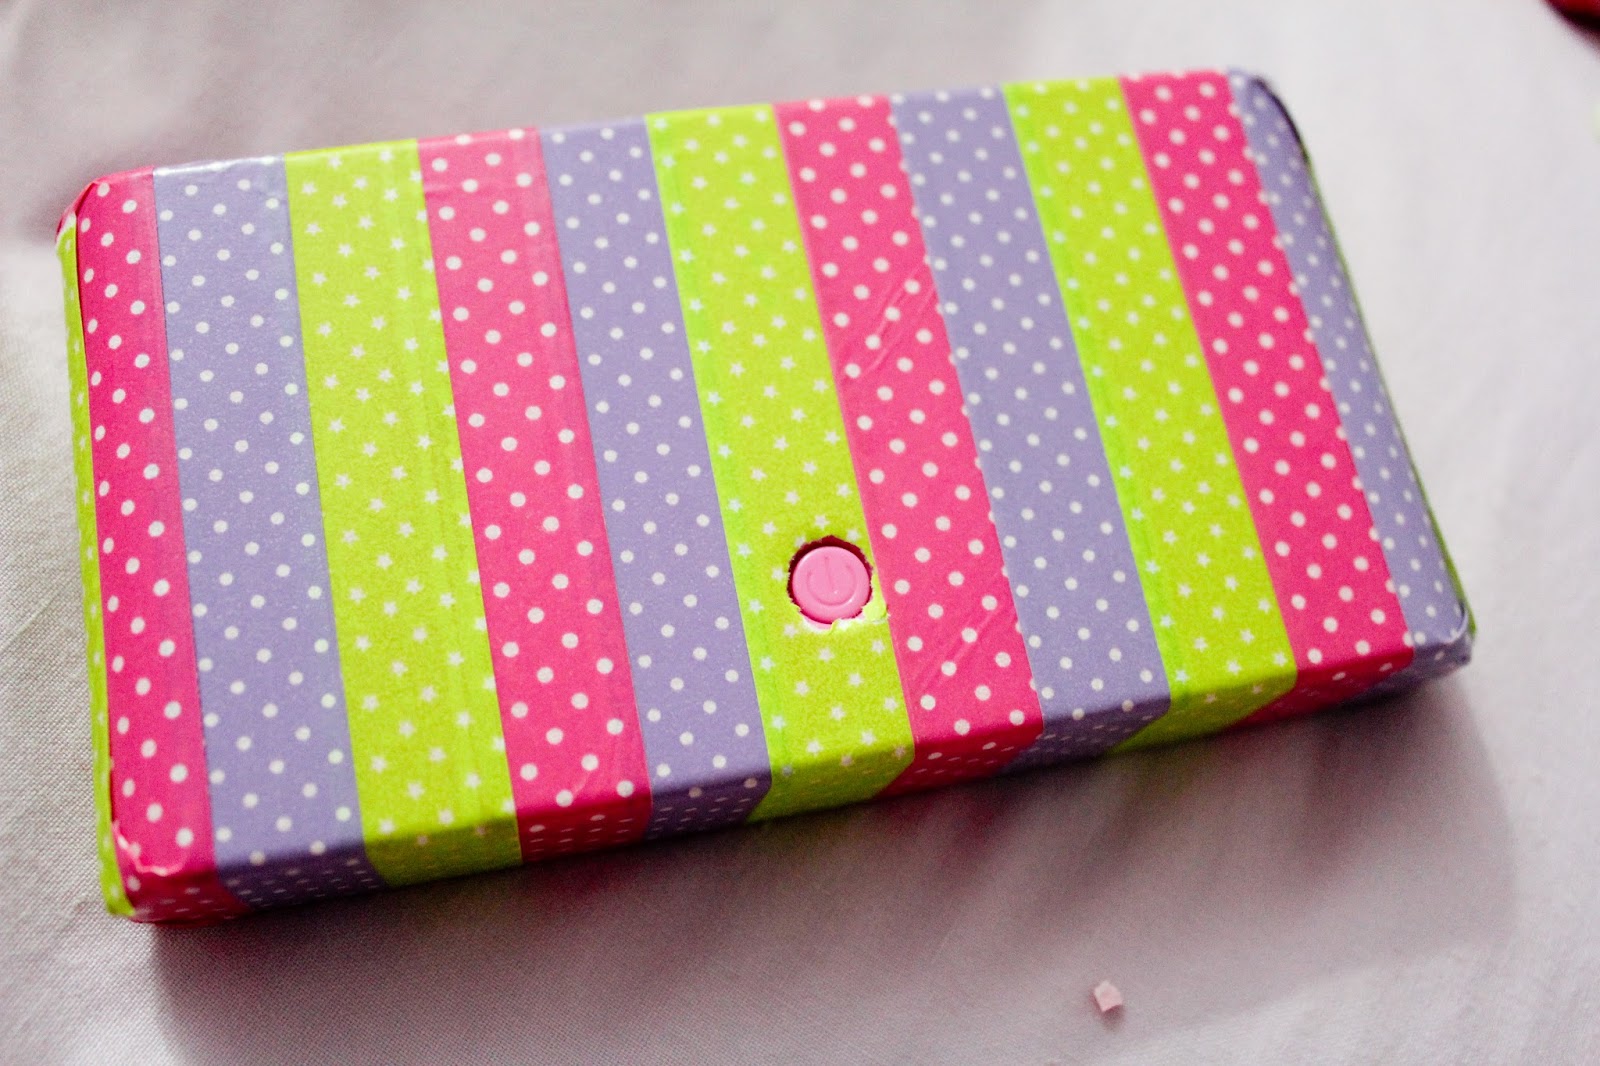
Don't worry if you have holes on things you want to cover. Just pop it out using a cutter. 


Here, I covered my 20,000 mAh powerbank with 3 types of design.


TADA!

All are now very colorful and fun. This makes me so happy lol!


Monday, June 3, 2013

Make-up: DIY Lipstick Palette

I have always been in the lookout for cheap lipstick palettes that are highly pigmented. So far, I haven't found one that I like. Another problem for me is when I travel, I don't want to bring so much lipstick in my make-up kit. The best solution for my problems? Make my own lipstick palette, of course!


What you will need:

empty palette (or watercolor set)
your favorite lipsticks (cut down to the number of available empty spots on the palette or less)
metal spoon
make-up spatula (or bread knife or any flat cutting tool)
small candle (and a lighter or match & matchsticks)


1. Clean the palette or empty the watercolor set

I opted to use a watercolor set because I really wanted to try to make my own lipstick palette. It was a spur of the moment thing. I just had to make one ASAP. Now I regret not finding a more decent-looking empty palette or watercolor set


I didn't realize that removing the watercolors from the case was hard! The best way to do this is to break the colors by poking it with a knife. Just be careful when doing this. After you take out the big pieces, try to scrape it off. Afterwards, just soak it in lukewarm water until the colors are soft and easy to remove. Be sure to clean it thoroughly because you will be putting lipstick in it.


2. Next thing you need to do is to light up the candle and have your spoon ready. Cut a decent amount of lipstick. This is kinda the crucial part because if you don't fill it up nicely, you will be forced to do a second round of pouring which ruins the form of the lipstick in the palette. This happened to me during my first try. You'll be able to see it later.

The amount you'll be cutting off from your lipstick depends on the size of the empty spot you will put your lipstick in. For the container I had, I had to cut off a little less than half an inch.


3. Next thing is to put it on the spoon and place it over the candle. You should place it about 3 inches above the flame or even higher if it is too hot. While heating it, slightly move your hand (mixing motion) to keep the lipstick in motion so that the other parts will no be burnt or something like that. 


Just a reminder, line up your lipsticks in the correct order so you will be able to label it later!


4. Immediately put in in the empty spot.


Well this is my failed attempt. So what you really need to do is to cut off just the right amount. I have encountered a problem lipstick which was very thick so it did not fill up the hole very nicely.

TADA


The upper rightmost color is the one with the thick consistency and the one under that is my first (and failed) attempt.

5. You can cover and design your case if you want. Label the lipsticks or get the sticker under the lipstick. I did not fill up all of the spaces because I still want to save a few spots for the reds that I don't have right now. It's good to put a variety of colors because the reason I made this is to have many choices when I have limited space.


So that's it! :)