Saturday, January 4, 2014

Make-up Travel Bag

So this is my much smaller, down-to-the-basics-but-not-quite, makeup bag.

Size comparison to my iphone4s


My essentials


1. My make-up brushes & sponge

I have brushes for: bronzer, blush, (two) eye shadow, lip. I also have my super awesome the original beauty blender. I use my beauty blender for applying my cream foundations, for blending it out and for setting it with my pressed powder.

Put your applicators in a case to keep it clean
2. Prepping & Setting

I always put on my sunblock first. I then apply my Benefit Porefessional because I have big pores. After I finish with my whole makeup process, I spritz my Nyx matte finish spray. Yeah I'm oily too.


3. Eye enhancers

To keep the eye shadows intense, I apply my Nyx jumbo pencil in white on my eyelid to act as a base. I also have my eyeliner pen. (Update: I have been enjoying my Maybelline eyeliner pen as of today because the color doesn't smudge and stays on my eyes much longer). And of course, the handy-dandy eyelash curler.


4. Palettes

I love my h&m eyeshadow palette. For travelling, I really enjoy the variety of colors in this one. And because I don't want to bring so much lipstick tubes, I have my lip palette with me. 


5. Powders & Foundation, Lip balm & mirror

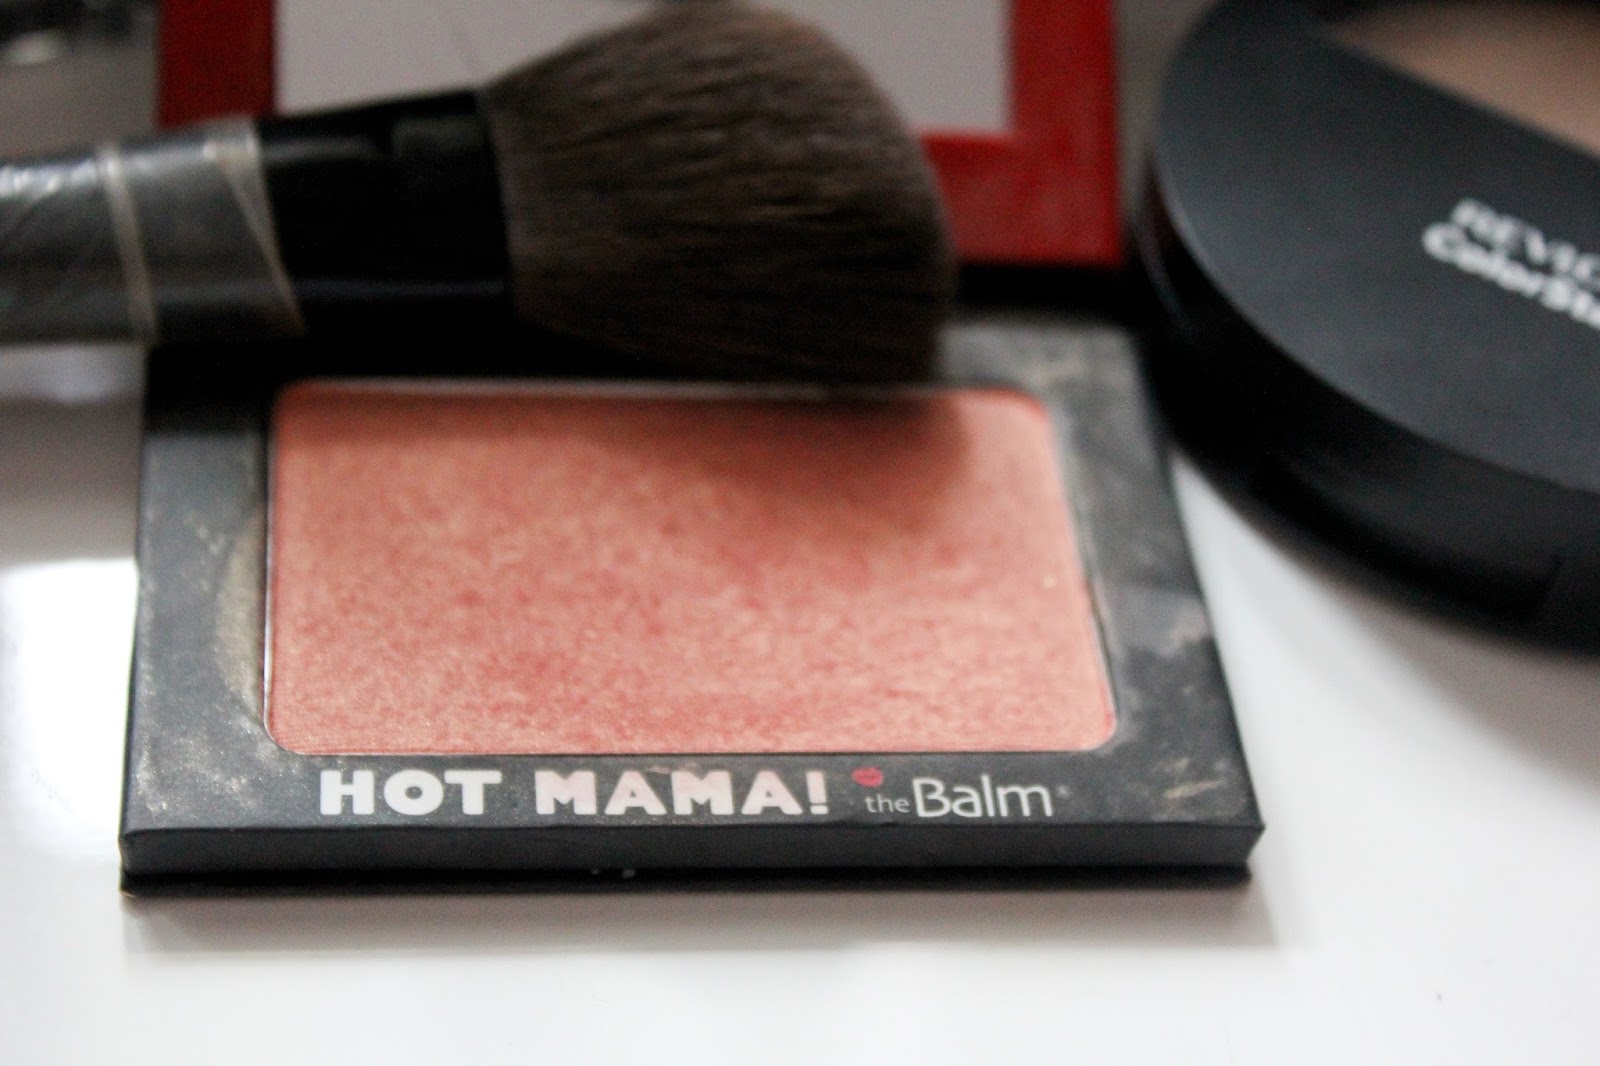
Here I have my Revlon Colorstay pressed powder, my Victoria's Secret bronzer, The Balm blush, eyebrow powder & Graftobian cream foundation. I also have the most important item, the mirror and also my H&M skull lip balm.


So there it is. 


Friday, January 3, 2014

Makeover: Orange POP


bare face

the set-up

Let's start!

1. Start by prepping your skin.
I start off by putting my sunblock & pore-minimizing Porefessional. You can also put your primer on.


2. Apply your foundation & set it with powder if needed.


As you can see, my foundation is much darker than my natural color. That's because I want to look tan! I was darker then but I think just staying at home made my skin lighter. I wouldn't recommend putting a lighter color of foundation though (except when used as a highlight).


I really like Graftobian foundations. Here is half of my face with foundation (left) and the right side without. You can really see the difference. The discolorations vanish and it gives you a flawless look.


Here is my fully covered face. Set it with powder afterwards.


3. Contour
I used the darkest shade.


Apply onto your temples (and top of forehead if it looks big), on the hollows under the cheekbone and on your jawline.


Put the contour powder on the sides of your nose. 


4. Apply blush from your hairline up to the end of your eyes (cheek-level)


Gradually add color until it is naturally visible.


5. Apply brown shadow on your eyebrows to fill it in.


6. Apply a white base
I used my Nyx jumbo eye pencil in white. I applied it all over my lid because my eyeshadows are not very pigmented. Adding white first will ensure the intensity of any eye shadows put on top of it.


7. Apply orange eyeshadow


Put eye shadow on the lid and build up. Make sure to blend it so that there are no harsh lines. Also, clean up the sides.


8. Apply eye liner and wing it!


Make sure that there are no gaps in your eyeliner.


9. Apply your lipstick.
I decided to use pink lipstick and orange lipstick from H&M. 


TADA


Saturday, December 7, 2013

Wishy Washi Tape: Decorating Make-up

I have recently encountered Washi tapes. Yeah, I am now a bit late in the fad but to my defense, it's fame just reached Manila a few weeks or months ago. I don't know for sure. Ah. You get the point anyway.

I have decided to use washi tape to cover my cracked eye shadow palette from H&M. That palette was my favorite handy dandy palette but then its cover cracked. I hesitated bringing it and putting it in my make-up kit because it does not look good anymore. Shallow, jam. So when I received my washi tapes, I covered it!

ITEMS NEEDED
  • washi tape
  • scissors (optional)
  • cutter

Here are my newly-bought washi tapes. They are priced at around 60 to 70 php or $1.3-1.5


First Project: Broken H&M eye shadow palette


I covered the broken plastic case with the washi tape. I added a few centimeters on each end for the sides. Remember to flatten the washi tape so there are no bubbles on the surface.


Overlap the washi tapes a little bit so that there will be no visible blank space.


After fully covering the case, I trimmed the excess washi tapes on the side using a cutter. 


After trimming the sides, the cover now looks clean and neat. 


WASHIFIED EYE SHADOW PALETTE


Second Project: Lipstick palette

I created this watercolor turned eye shadow palette. It was previously covered with ugly stickers. Yeah, it didn't turn out like I wanted to. Check it out here

I stripped stickers off the lipstick palette.


Washified Lipstick Palette


OTHER WASHI PROJECTS

I covered my iphone charger right after getting my washi tapes so pardon the poor application. I just love this Eiffel tower design.


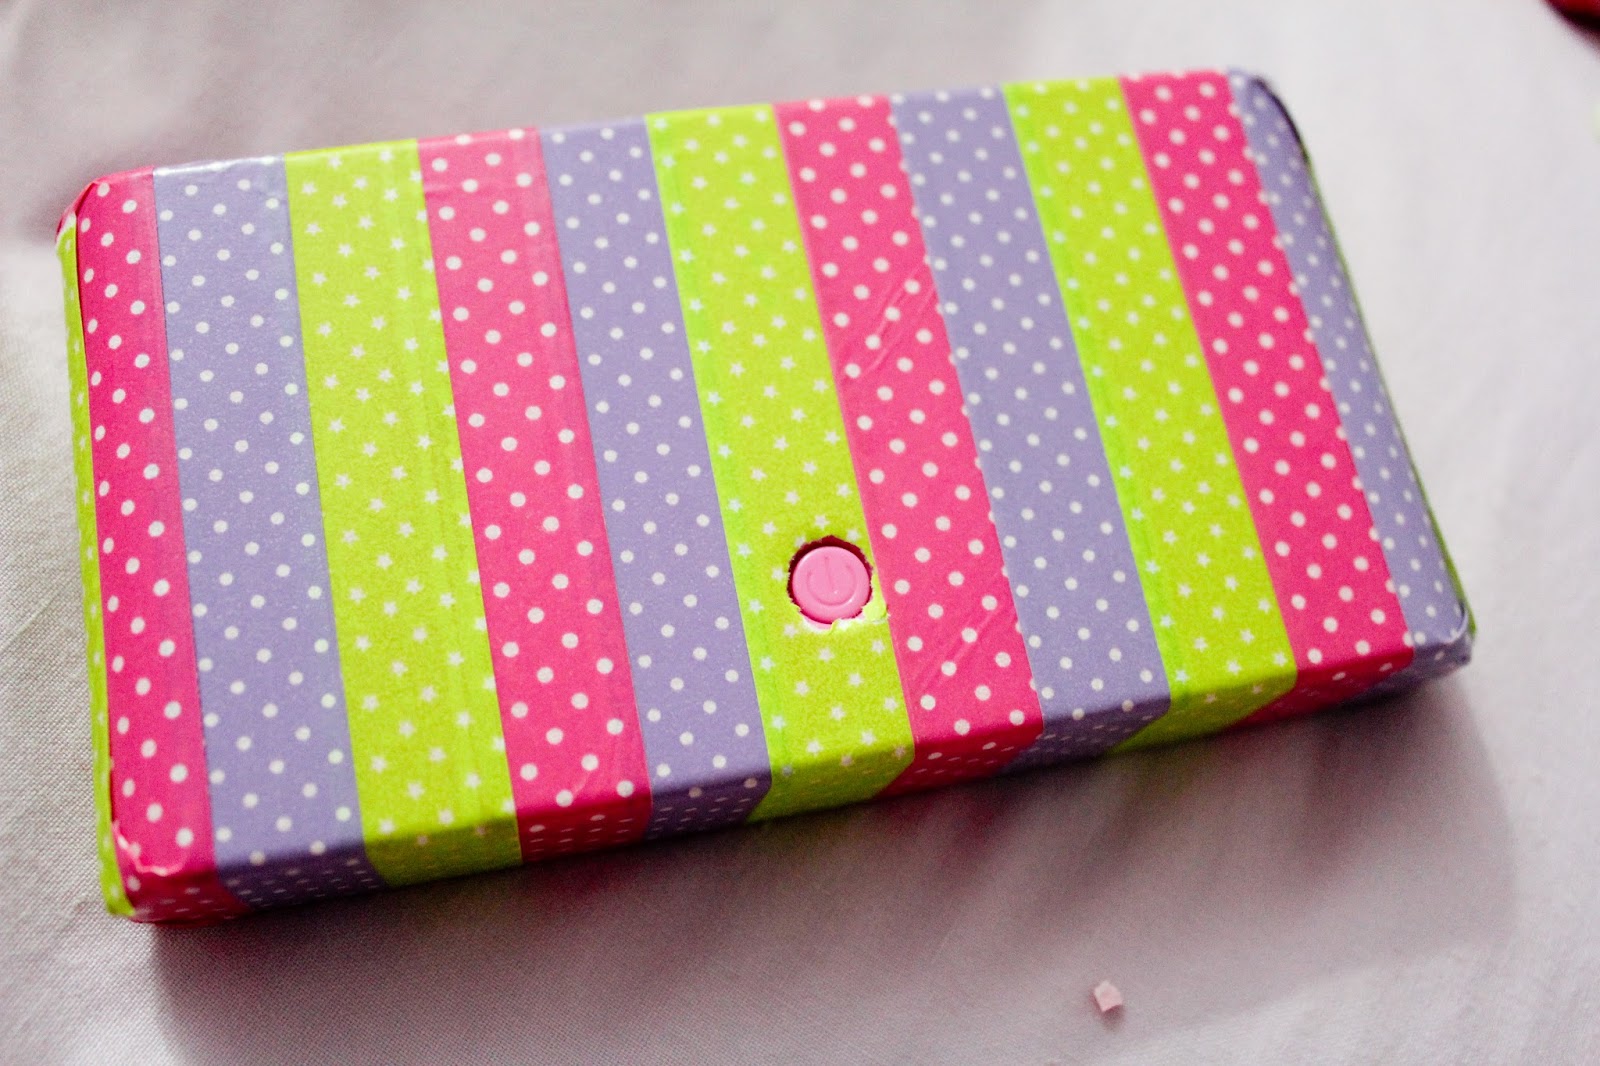
Don't worry if you have holes on things you want to cover. Just pop it out using a cutter. 


Here, I covered my 20,000 mAh powerbank with 3 types of design.


TADA!

All are now very colorful and fun. This makes me so happy lol!